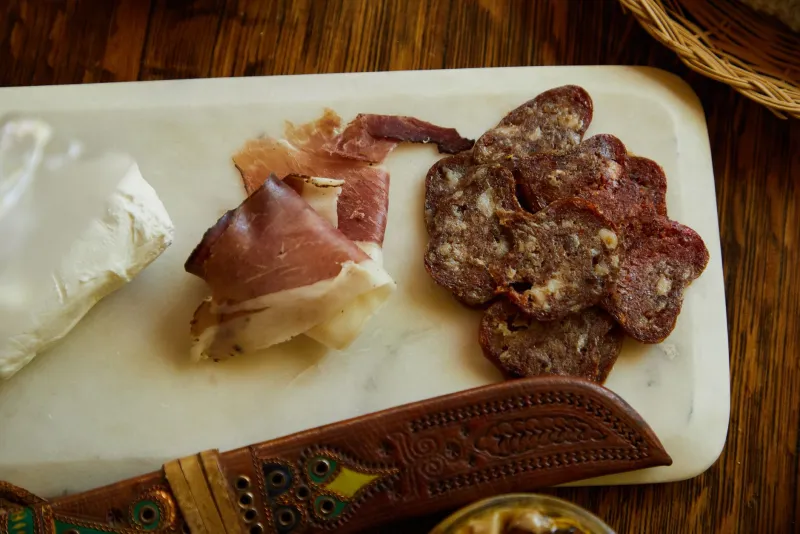
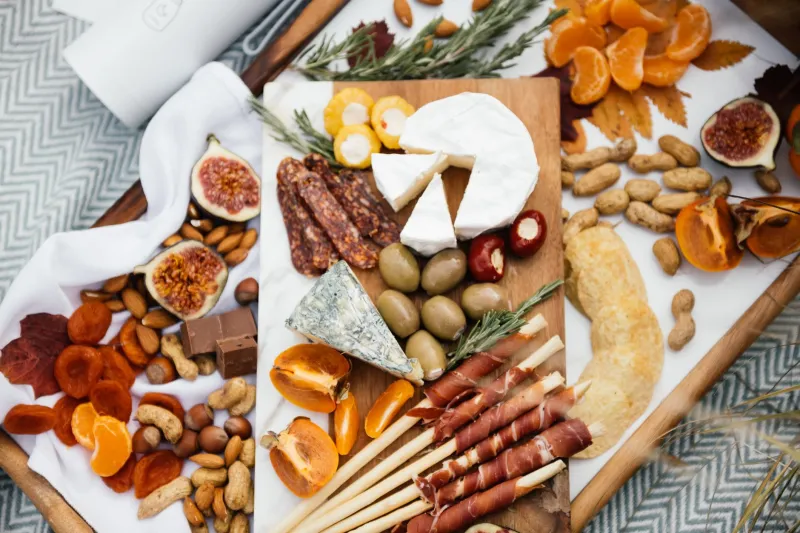
The Cheese Board Glow-Up: How to Make Your Spread Look Like a Million Bucks (Without Spending It)
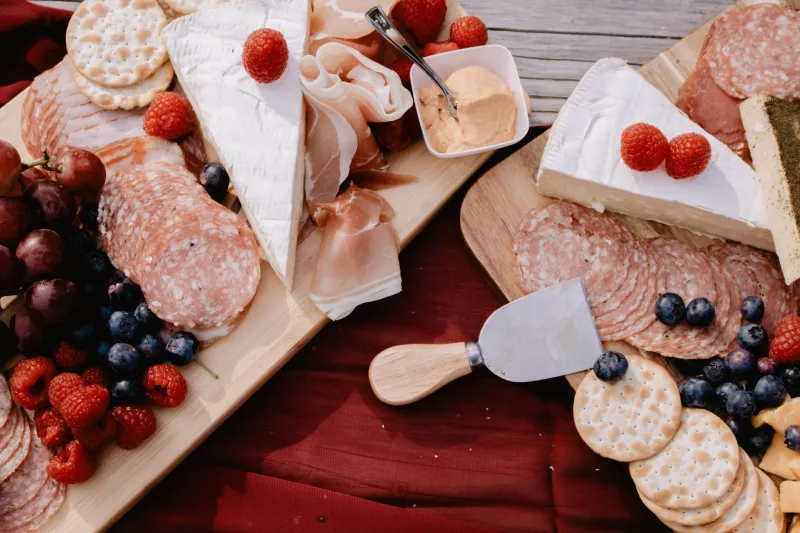
Let's be honest. You've scrolled past those impossibly beautiful cheese boards on Instagram and thought one of two things: I could never or I need that in my life immediately. Good news — both instincts are valid, and the second one is absolutely achievable. Building a visually stunning, genuinely delicious cheese board is less about talent and more about knowing a handful of tricks that the pros use every single time.
We're breaking it all down, from board selection to final garnish, so your next gathering has a centerpiece that earns its own photo shoot.
Start With the Board Itself (It Matters More Than You Think)
Your foundation sets the entire visual tone. A thick slab of end-grain walnut says "I take this seriously." A piece of slate says "I'm chic and slightly mysterious." A marble board says "I also have opinions about kitchen countertops." Any of these work beautifully — just avoid anything too small. Cheese needs room to breathe, spread out, and look abundant even before guests arrive.
A good rule of thumb: your board should be about 30% larger than you think you need. Crowded boards look chaotic. Boards with intentional negative space look curated. You want curated.
The Cheese Lineup: Variety Is Your Best Friend
A visually compelling board starts with textural and color contrast in the cheese selection itself. Aim for at least three to five cheeses that span the spectrum:
- Something soft and creamy — a bloomy rind like a domestic Brie or a fresh chèvre gives you that pillowy white visual anchor.
- Something firm and golden — an aged Gouda or a sharp American cheddar brings warm amber tones and a satisfying crumble.
- Something bold and blue — a wedge of Rogue Creamery Caveman Blue or Maytag Blue adds drama, color contrast, and the kind of flavor that makes people say "wait, I actually like blue cheese now."
- Something semi-firm with visual interest — think a cheese with a washed rind, an herbed exterior, or a natural ash coating. These are your conversation starters.
When you order through CheddrBox, you're already getting a curated mix of artisan selections that check multiple boxes at once — which means less guesswork and more time for the fun part.
The Art of the Cut (Yes, There's an Art)
How you cut your cheese dramatically affects how the board looks. Don't just hack off chunks and pile them up. Instead:
- Slice firm cheeses into thin, overlapping fans — this shows off the interior and makes it easy for guests to grab a piece.
- Leave soft cheeses mostly whole with just a small wedge cut out to invite the first guest in.
- Break aged or crumbly cheeses by hand into irregular chunks. This looks rustic, intentional, and honestly more appetizing than perfectly uniform slices.
- Cube one cheese if you're feeling maximalist. Cubes add height and geometric contrast.
Fill the Gaps Like a Pro
Here's the secret the Instagram accounts don't tell you: the stuff around the cheese is doing at least 40% of the visual heavy lifting. Once your cheeses are placed, fill every gap with purpose:
- Honeycomb or a small jar of local honey — golden, glistening, and universally beloved.
- Marcona almonds or candied walnuts — these fill negative space beautifully and add crunch contrast.
- Fresh or dried fruit — grapes, sliced figs, dried apricots, and fresh strawberries add pops of color that make the whole board sing.
- Charcuterie folds — if you're including meat, fold salami into little rosettes or "roses." It takes thirty seconds and looks like you practiced.
- Fresh herbs — a few sprigs of rosemary or thyme tucked in at the edges make the whole thing look like it grew there naturally.
Crackers and Bread: The Underrated Visual Element
Variety in your crackers isn't just about flavor — it's about texture and color contrast on the board. Fan out thin water crackers in one section, stack some seeded crisps in another, and lean a few slices of toasted baguette against a cheese wedge. Dark rye crackers next to a pale soft cheese? Chef's kiss.
Avoid dumping crackers in one big pile. Distribute them in two or three spots around the board so guests can access everything without a traffic jam.
The Finishing Touches That Separate Good From Great
Once everything is placed, step back and look at your board. Then do these three things:
- Add a small bowl or ramekin for anything runny — honey, jam, whole-grain mustard. It keeps things tidy and adds height variation.
- Check your color distribution. You don't want all the dark elements on one side. Move things around until the colors feel balanced across the whole surface.
- Add the fresh herbs last, tucking them into any spots that still look bare. Rosemary is especially forgiving — it fills gaps and smells incredible.
The Mindset Shift That Changes Everything
The biggest upgrade you can make to your cheese board isn't a fancier board or more expensive ingredients — it's giving yourself permission to play. The most beautiful spreads are built by people who arranged, stepped back, moved things around, and tried again. There's no wrong answer as long as it tastes great.
And when you're starting with genuinely exceptional artisan cheese — the kind that arrives at your door already selected for quality and variety — you're already most of the way there. The rest is just arrangement.
Now go build something beautiful. Your guests (and your camera roll) are waiting.